Introduction
This is my personal review of the book “The Linux Command Line” by William Shotts. I provide the table of contents, and provide summaries on chapters that I personally found interesting.
Table of Contents
Part 1: Learning the Shell
Most of these chapters show basic commands and syntax. You may find some useful ones that are new to you, but for the most part, this is a pretty basic run through.
From a beginner’s perspective, part 1 is the bare-bones essentials on how to navigate the shell.
Chapter 1: What is the shell?
Chapter 2: Navigation
Chapter 3: Exploring the system
Chapter 4: Manipulating Files and Directories
Chapter 5: Working with Commands
Chapter 6: Redirection
Chapter 6 was spicy. The chapter starts with the idea of I/O, or input/output redirection.
I learned the true and tried phrase of linux: “everything is a file”.
In the context of linux, all inputs and outputs to the command line are files themselves.
For example, when you type commands, you’re actually sending your inputs to a file called standard input (stdin)–stdin is, by default, attached to the keyboard.
On the other end, all output you see from the terminal screen is actually sent to a file called standard output (stdout).
What about status messages and errors? Yup, you guessed it: standard error (stderr).
I found this really cool, because these are actual files on your computer that you can look at, rather than some weird “black-box” magic that comes somewhere from the computer.
To redirect stdout to another file (let’s say in the case you’re running a machine learning model, and wish to save the output to a text file), you can type something like:
python model.py > results.txt
But let’s say you already have a file on hand, and wish to append the results? Just use a double arrow:
python model.py > results.txt
To output both stdout and stderr, you can run:
python model.py > results.txt 2>&1
Note that in the above example, I used “2”–this is a file descriptor, and linux has a reference for all three types of output: (0) standard input (1) standard output (2) standard error.
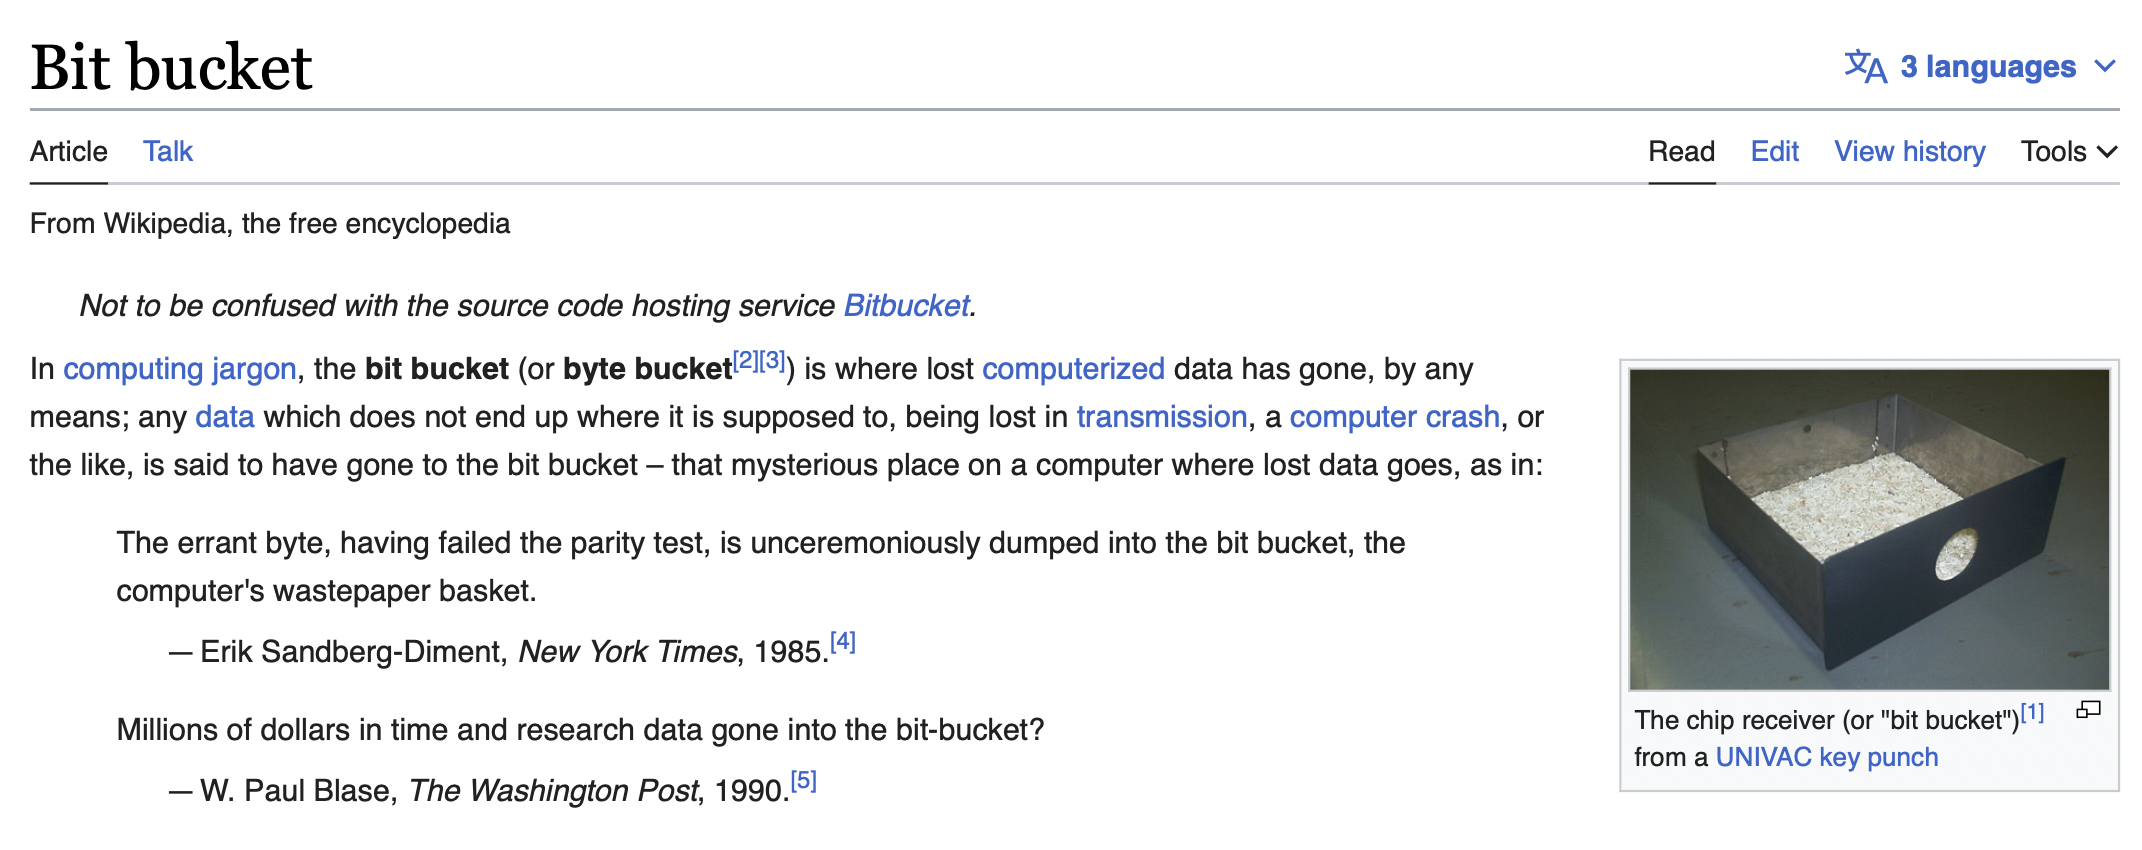
Interestingly enough, I also learned about the meaning behind “bit bucket”. At first, I though bit bucket was just another online repo. But it turns out, the name actually refers to something!
It turns out, when you don’t want any output from a command, and are okay with “trowing it out”, you can point your output to the /dev/null
python model.py 2> /dev/null
This particular command will throw all error messages (because we used the “2” file descriptor) to the bit bucket, which accepts input and does nothing with it.
We can also work with changing the standard input (where we type). The “cat” command is key for this, and using the redirect arrow (>) to point to a file, we can literally create a text file (or really, any file type) on command!
cat > test.txt
Typing the above command will convert the command line into a simple and super basic word possessor! You literally just start typing away!
When you’re finished, press “ctrl + D” to exit out of typing mode. This will save a file called “test.txt” with whatever you inputted.
To view what you types, simply run:
cat test.txt
This will display the entire contents of test.txt on the command line (note: if this is a big file, you can alternatively type ‘head -n 5’ to show only the first 5 lines.)
This chapter also reviews the pipe operator. The best comparison between the redirect (>) and pipe (|) operators is that the redirection operator connects a command with a file, while the pipe operator connects the output of one command with the input of the second command.
Chapter 7: Seeing the world as the Shell sees it
Chapter 8: Advance Keyboard Tricks
The cool trick I learned here was the “history” command.
When you type ‘history’ into the terminal, you may get something like this:
1032  rm test.txt
 1033  clear
 1034  cat > test.txt
 1035  cat test.txt
 1036  cat < test.txt
 1037  git_push
 1038  clear
 1039  git_push
 1040  clear
 1041  cat
 1042  clear
 1043  clear
 1044  history
 1045  1034
 1046  cat > test.txt
 1047  clear
This keeps track of your most recent commands, (rather than using the up arrow and hoping to get your original command).
To run a command from your stored history, simply start with a factorial (!) and the number:
!1046
This will translate to running the ‘cat > test.txt’ command I ran earlier.
Chapter 9: Permissions
This chapter finally made scene of the chmod command.
For a long time, I simply used “chmod 755” for all files. Now, I actually see the meaning behind this.
When you type “ls -l” in the command line, you get something like this:
drwxr-xr-x   3 afm18d  staff    96 Mar 19 14:39 archetypes
-rw-r--r--@  1 afm18d  staff  1019 Mar 27 20:04 config.yml
drwxr-xr-x   6 afm18d  staff   192 May  9 22:15 content
drwxr-xr-x  40 afm18d  staff  1280 Mar 26 19:29 public
drwxr-xr-x   3 afm18d  staff    96 Mar 19 14:39 resources
drwxr-xr-x  48 afm18d  staff  1536 May 25 18:36 static
drwxr-xr-x   4 afm18d  staff   128 Mar 19 14:39 themes
Ignore the other output and pay attention to the left column. The very first character defines the type of element (’-’, like ‘-rw-r–r–@’ mean that it’s a file, while ’d’, like ‘drwxr-xr-x’, means it’s a folder/directory).
The magic of ‘755’ comes in the triples. Take for example “drwxr-xr-x”. Ignoring the first character, we’re left wit “rwxr-xr-x”–these are exactly 3 sets of 3 characters (9 characters total). The first three are permissions for the owner/user, the second three are permissions for the group (people who have special access to this linux machine), and the last three are permissions for everyone else who has access to this linux machine.
so, for each group, we have the following combinations available:
- rwx: full reading, writing/editing, and execution permissions.
- r–: read only permissions
- -w-: right only permissions
- –x: executable permissions only.
- And then any combination in between one type of permission and all three
So, because we have 3 options (-,-,-), imagine that each spot is a binary place holder. It’s literally binary code! So full permissions (rwx) would be (1-1-1), which, in binary, equals 7.
If we want reading permissions and executable permissions only (r-x), then it becomes (1-0-1), or 5.
And because chmod changes permissions for all three groups of people (user/owner, group, and everyone else), it makes scene why “chmod 755” is so common–it gives user/owner full permissions, and everyone else the basic reading and executing permissions (without overwriting or editing the file). Chmod 777 would be everyone has full permissions on the file/folder.
Chapter 10: Processes
Part 2: Configuration and the Environment
Chapter 11: The environment
Chapter 12: A gentle introduction to vi
Lol, nano rules
Chapter 13: Customizing the prompt
Part 3: Common Tasks and Essential Tools
Whereas part 1 focused on the bare essentials to navigate the command line, part 3 introduces commonly used commands that serve practical, general purposes for a variety of tasks. The chapters can be read in any order.
Chapter 14: Package management
Chapter 15: Storage Media
This chapter when into the details of mounting. I should review this another time, but I skimmed this section
Chapter 16: Networking
Chapter 17: Searching for Files
Chapter 18: Archiving and Backup
In this chapter, I learned about tar and gzip. Tar simply bundles files together, while gzip will zip the files together and compress the memory footprint. Often, tar and gzip are used together to create .tar.gz or .tgz files.
Then we have the classic zip command. Understand that tar and gzip together to create a .tar.gz or .tgz file achieves a similar effect to zipping a file with the zip utility to create a .zip file.
Both approaches result in compressed archives that bundle multiple files and directories into a single file.
In other words, just use zip for most of your cases :P.
Chapter 19: Regular Expressions
Chapter 20: Text Processing
Chapter 21: Formatting Output
Chapter 22: Printing
Chapter 23: Compiling Programs
Part 4: Writing Shell Scripts
Chapter 24: Writing your first script
The #! character sequence is, in fact, a special construct called a shebang. The shebang is used to tell the kernel the name of the interpreter that should be used to execute the script that follows. Every shell script should include this as its first line.
After creating a script with the right permissions, you run it by using:
./script.sh
To run the script without the (./), simply move the file to one of the $PATH directories listed.
[me@linuxbox ~]$ mkdir bin
[me@linuxbox ~]$ mv hello_world bin
[me@linuxbox ~]$ hello_world
Hello World!
Then, to add the newly created bin folder into the $PATH variable, simply type:
export PATH=~/bin:"$PATH"
Knowing that we can put two variables side-by-side to concatenate (without any operator), and knowing that the colon (:) is specifically used in the $PATH variable to delimite all the different executable paths.
The ~/bin directory is a good place to put scripts intended for personal use. If we write a script that everyone on a system is allowed to use, the traditional location is /usr/ local/bin.
Chapter 25: Starting a project
Hey! Our first project!
Chapter 26: Top-Down Design
The equivalent of “input” from python for reading standard input is “read” in linux
Chapter 27: Flow Control: Branching with IF
Chapter 28: Reading keyboard inputs
Chapter 29: Flow Control: Looping with while/until
Chapter 30: Troubleshooting
Chapter 31: Flow Control: Branching with case
Chapter 32: Positional Parameters
Chapter 33: Flow Control: Looping with For
Chapter 34: Strings and Numbers
Chapter 35: Arrays
Chapter 36: Exotica
My overall thoughts on the book
If I were reading this as a first-time user, I would have personally preferred more project-based examples, rather than simple “do-it-and-forget-it” commands that we test run form the terminal. That being said, it is probably one of the easier books to get your feet wet with simply interacting with the command line–for that purpose, I think this would be a solid book for someone who is just starting out and wants to know what to type to even get started. Each chapter has a direct focus, and it does not go too deep into the weeds of linux kernel, while still providing enough snippets of background information for us to appreciate. Part 4 of the book did a great job in combining as many of the previous lessons we learned into longer scripts.
My rating for this book (without using 7)? 8/10.